Tested with USD 26.08
End to End Example
This tutorial aims to show USD in an extremely simplified pipeline. The files for this tutorial live in USD/extras/usd/tutorials/endToEnd.
Overview of files:
assets: This folder contains some files that are used in the tutorial. It also contains some of the geometry in case you do not want to author them yourself.
scripts: Some generic scripts we use in the tutorial. We’ve tried to document them. Feel free to poke around, or run them with
-h.tutorial_scripts: Scripts specifically geared toward this tutorial. They may have hard-coded paths that are intended to be run from the tutorial root. We’ve also documented those, but they are intended to be used primarily for this tutorial.
Goals:
How to generate USD files from Maya
How to introspect USD files
How to manipulate USD files with code
Create Assets
Bootstrap
We’ll first run a script that bootstraps an asset for us. The following will create an empty asset named “Ball” inside the directory “models/Ball”.
python scripts/create_asset.py Ball --shadingVariantLayer -o models/Ball
Go ahead and look at the files it created:
ls models/Ball
usdcat models/Ball/*.usd
usdview models/Ball/Ball.usd
There is no geometry but if usdview opens without errors, we’re off to a great start. We’ll be adding geometry in the next section.
Note
Putting models in their own directories is convenient for managing versions, etc. but how you layout files at your site will likely differ. This particular structure is an example and is not required to get USD to work.
We’re going to also need a Table for this example so go ahead and run:
python scripts/create_asset.py Table -o models/Table
Maya
Note
The Maya plugin previously distributed with USD has been incorporated into the Autodesk maya-usd repository. This portion of the tutorial remains here for historical reference.
You can continue through this tutorial by using the geometry provided in the repository and skipping to the Shading Variants section.
cp assets/Ball/Ball.maya.usd models/Ball/Ball.maya.usd
cp assets/Table/Table.maya.usd models/Table/Table.maya.usd
usdview models/Ball/Ball.usd
usdview models/Table/Table.usd
You should see a sphere-like mesh for the Ball asset.
Load the Maya plugin
Inside Maya, load the pxrUsdMaya plugin. This can be done via the Plug-in Manager () or by entering the following command in the MEL script window
loadPlugin pxrUsd
Exporting the ball asset
Open the Ball.ma file in Maya. This file contains geometry and shading for a simple sphere:
maya assets/Ball/Ball.ma
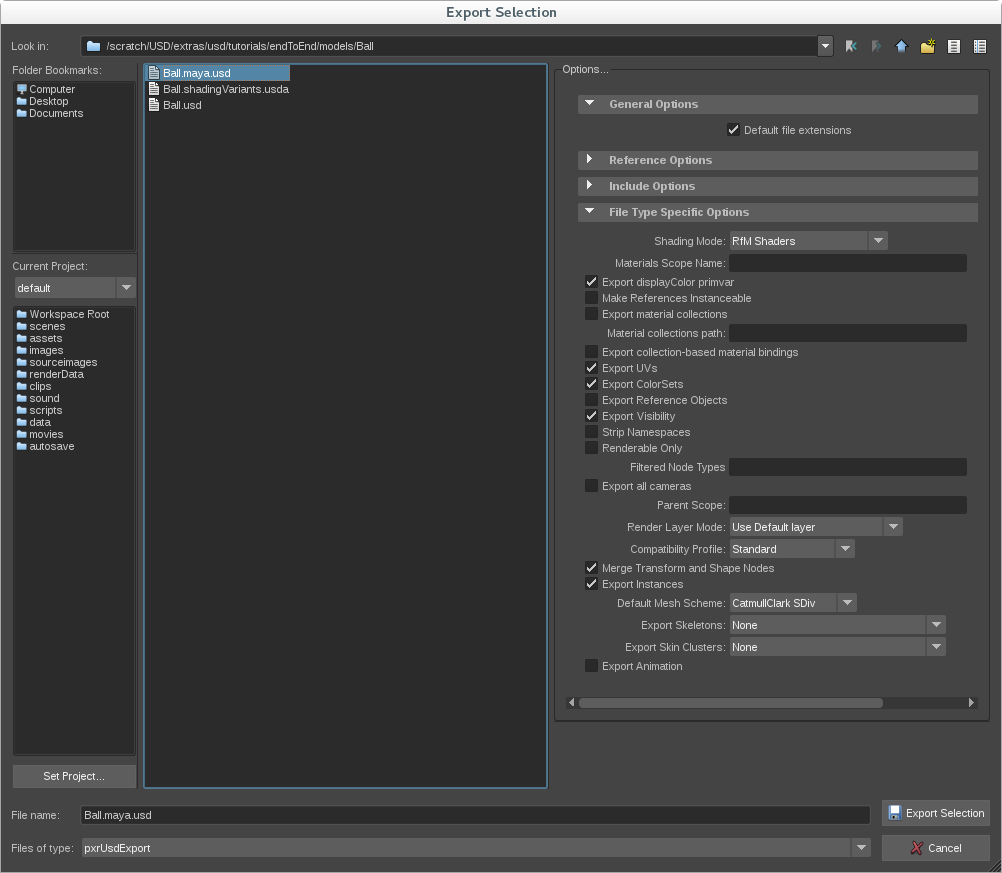
To export this scene, select the sphere, select , and choose pxrUsdExport under Files of type.
Be sure to choose RfM under shading mode. In the file browser, find models/Ball/Ball.maya.usd and save over it.
Save Settings:
You can now try viewing this:
usdview models/Ball/Ball.usd
# in usdview, you can view the different levels of subdivision via ctrl+- and ctrl+=
Exporting the table asset
Open the Table.ma file in Maya.
maya assets/Table/Table.ma
Select the table in the scene, then select . Choose pxrUsdExport under Files of type .
As with the Ball, be sure to choose RfM under shading mode . In the file browser, find models/Table/Table.maya.usd and save over it.
At this point, you should have geometry and shading information authored for both the Ball and Table. If you were not able to complete this section, see the note above for instructions on copying over pre-exported assets.
Shading Variants
We will add shading variants to the Ball entirely through code. Please see tutorial_scripts/add_shadingVariants.py.
Start by copying the Ball textures into your Ball directory:
cp -r assets/Ball/tex models/Ball/
Add shading variants to the Ball with a python script:
python tutorial_scripts/add_shadingVariants.py

usdcat models/Ball/Ball.shadingVariants.usda
This script assumes you’ve been following along the tutorial and is expecting a Ball model to exist with shading from the Maya file. If you’ve tweaked things, you may have to go in and modify that script.
We are keeping the networks very simple for this tutorial. If you look at the Ball model in usdview, and then with :filename`/Ball` selected, select the Meta Data tab and use the shadingVariant drop-down menu to change to variants with different colors.
usdview models/Ball/Ball.usd

Set dressing
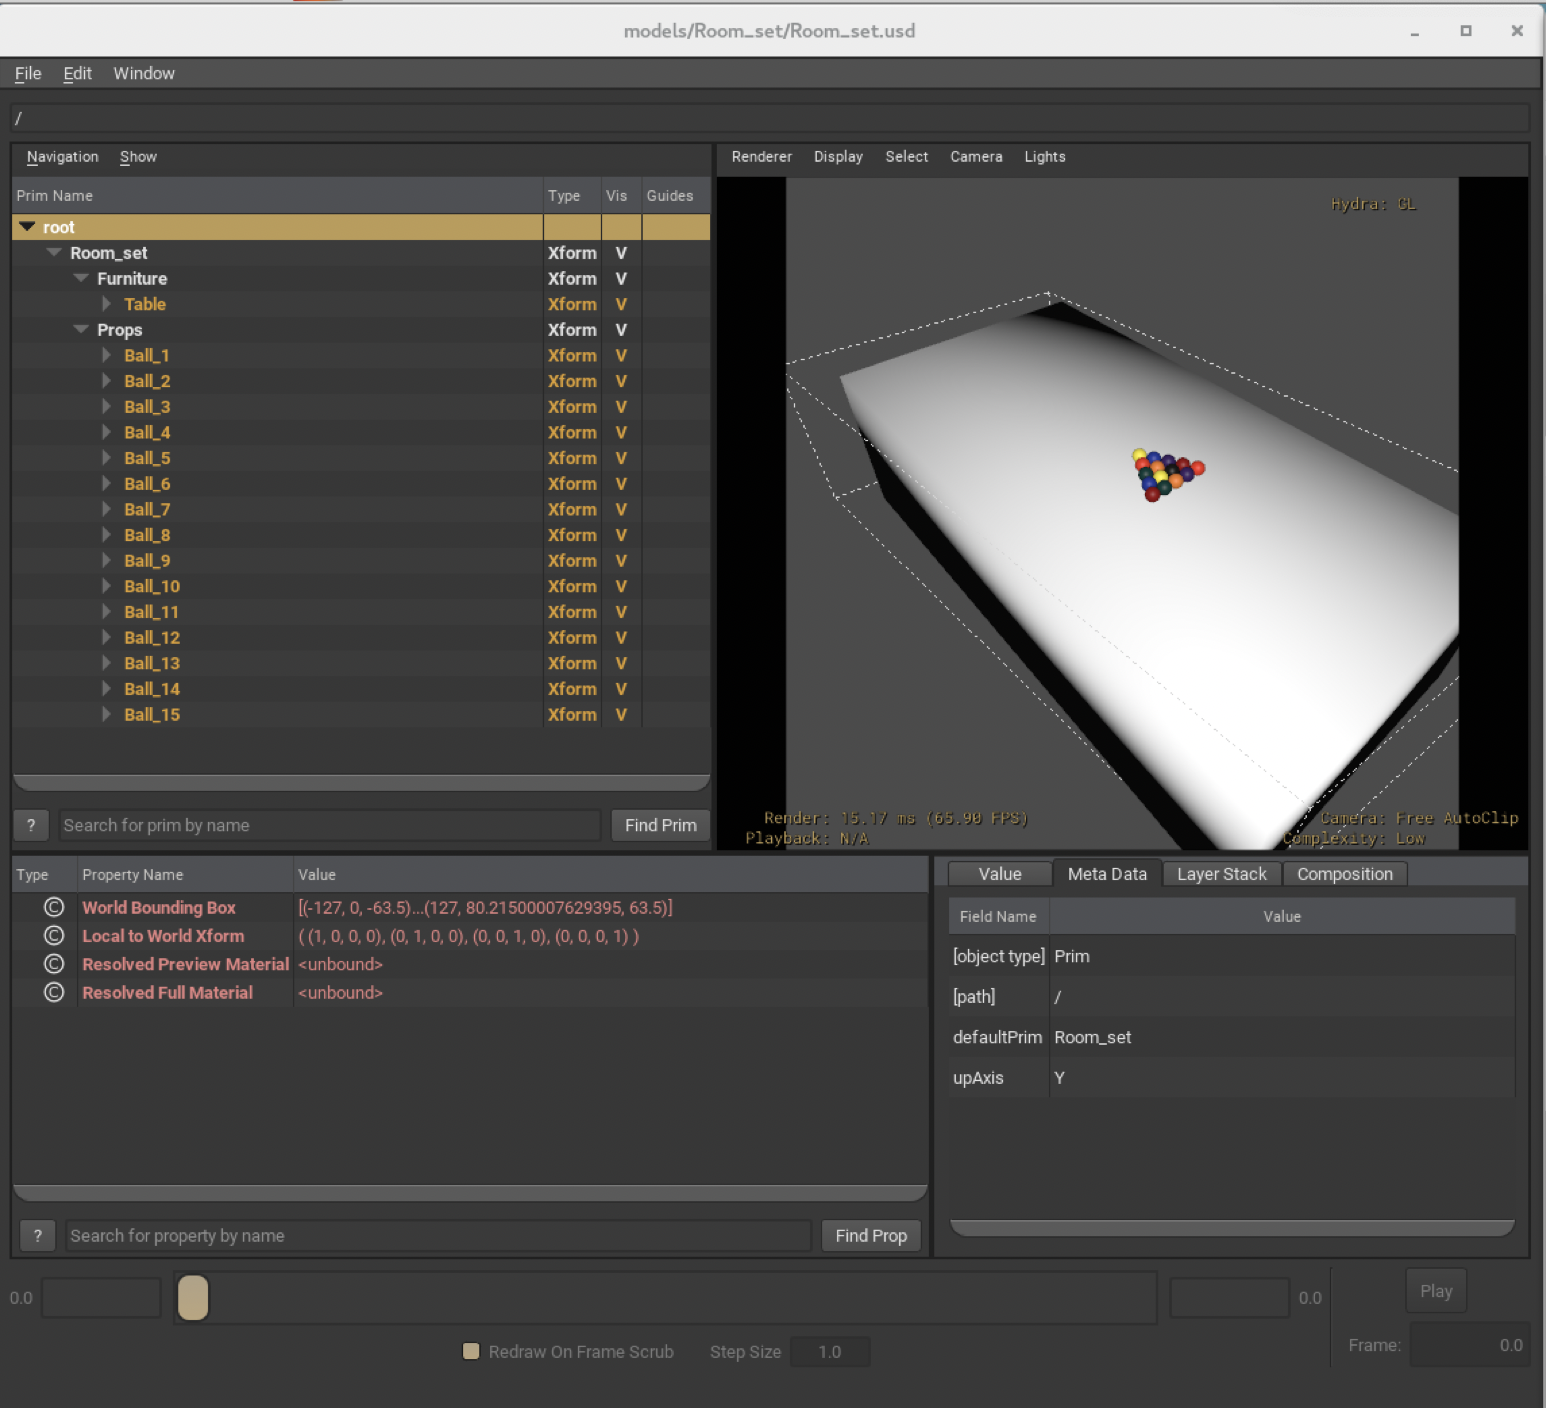
We’ll create a set model that brings together the Table and a standard set of 15 Ball models together.
python tutorial_scripts/create_Room_set.py
usdview models/Room_set/Room_set.usd
This script assumes you’ve been following along the tutorial and is expecting a Ball and Table model to exist. It also makes some assumptions about the size of these models. If you’ve tweaked things, you may have to go in and modify that script.
Also, note that we’re hard-coding absolute paths to the other assets. The path resolver plugin provides a better mechanism that allows you to locate assets by other means.
You may need to move the camera around to see the table and balls as pictured below.
Shot Work
Here, we’ll mock up an example of how a sequence and shot might be structured. This will illustrate some of the benefits of USD composition. Since your structure likely varies, we’ll first define some terms and explain the structure we’re about to create.
A sequence is a collection of related shots. A shot will include (by sublayering) all the scene description that is associated with its sequence. This structure allows you to put opinions that affect multiple shots in one location. We will also make each sequence inherit opinions from a global/shared shot.usd file. This makes it so we can define the overall structure in one place. That’s a good place to put things you will need everywhere (for example, the camera).
Another axis by which we organize our work is by department. A shot can have a layer for layout, a layer for animation, and a layer for sim, as an example. The same goes for a sequence. We will build a shot that has the following layers (strongest to weakest)
# shot layers
s00_01.usd
s00_01_sim.usd
s00_01_anim.usd
s00_01_layout.usd
s00_01_sets.usd

# sequence layers
s00.usd
s00_sim.usd
s00_anim.usd
s00_layout.usd
s00_sets.usd

# global
shot.usd
Note
USD has no notion of what a “shot” or “sequence” is. Again, this is just an example and this structure is not required for USD.
Sequence/Shot setup
The scripts/create_shot.py script will help setup a sequence and a shot. For starters, take a look at the structure that’s defined in assets/shot.usd:
usdcat assets/shot.usd
Let’s setup the sequence. We’ll use the create_shot.py script even though we’re making a sequence:
python scripts/create_shot.py s00 -o shots/s00 -b assets/shot.usd
This creates a sequence in the directory shots/s00 that
references assets/shot.usd (note the -b argument to
create_shot.py authors that reference verbatim).
And now the shot:
python scripts/create_shot.py s00_01 -o shots/s00_01 -b shots/s00/s00.usd
Now, you should have the layer structure defined in the previous sections. Opinions from the shot will override the weaker opinions that are in the sequence or the “global” layer.
Note
In an actual production, you’ll probably structure your files to make the dependency between s00_01 and s00 more evident.
Since this is a newly created shot and sequence, there shouldn’t really be anything in it except for what was in assets/shot.usd, which should just be the camera.
usdview shots/s00_01/s00_01.usd
Simple shot work
Now we’ll start running some scripts. First, at the sequence level, we’ll bring in the Room_set asset.
python tutorial_scripts/add_set_to_s00.py
usdview shots/s00/s00.usd
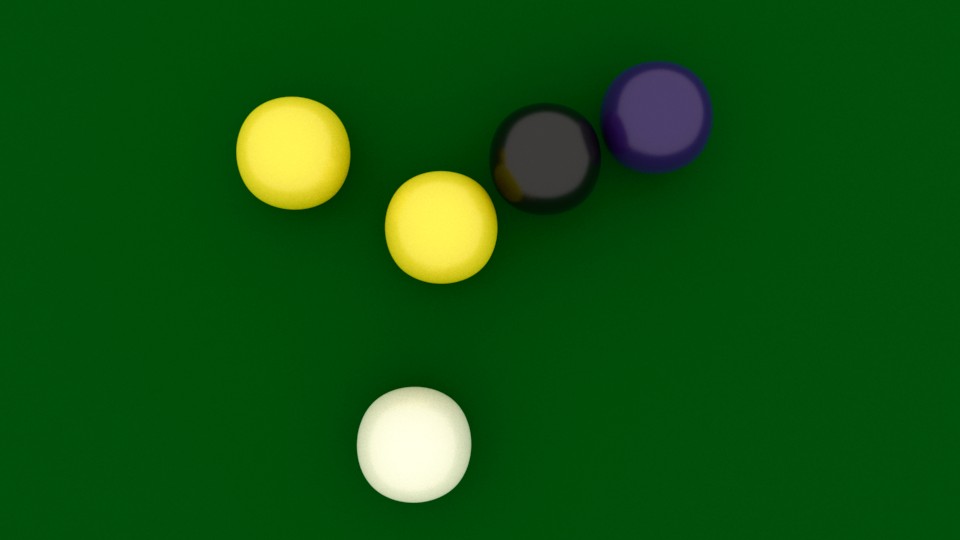
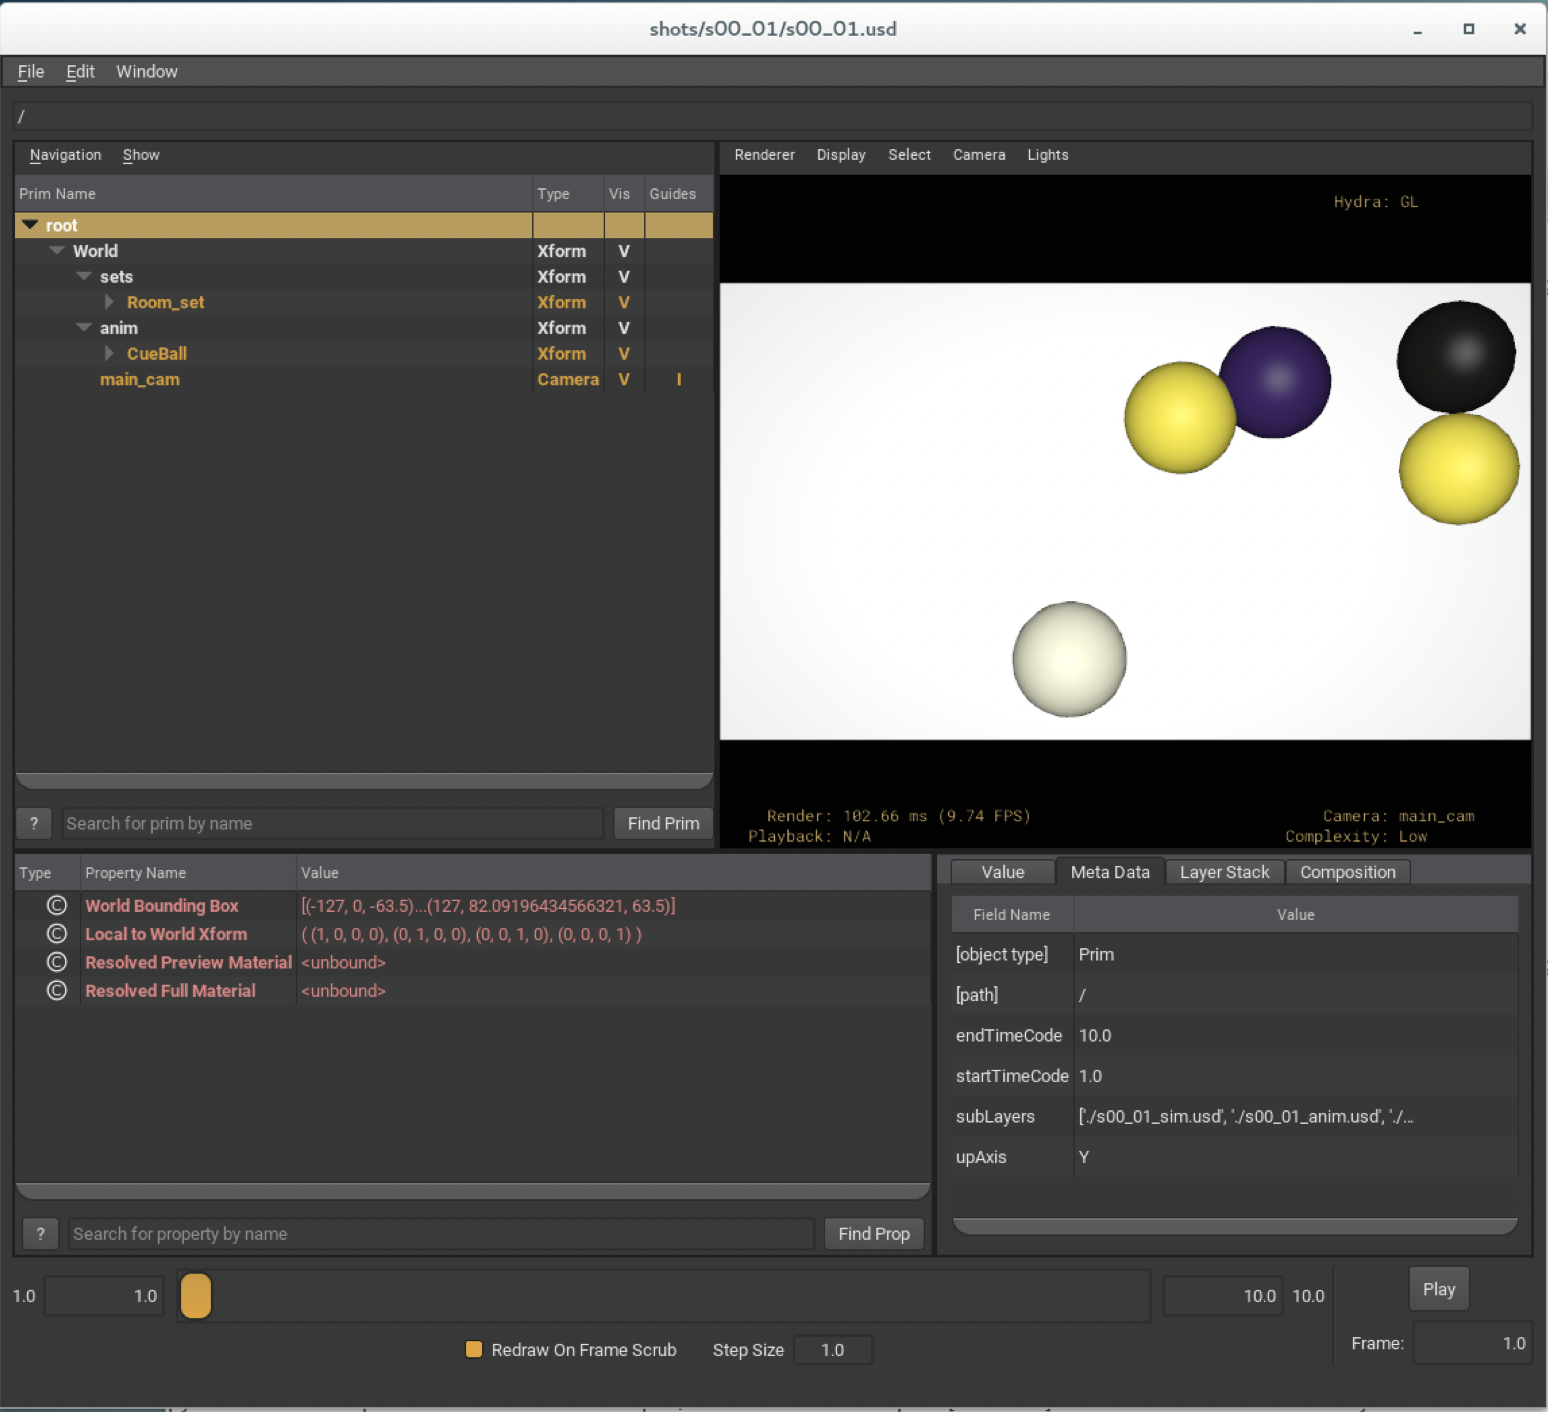
And now, let’s say a layout TD adds in a cue ball, removes some un-needed props, and positions the camera
# notice that s00_01 brings in opinions from s00
usdview shots/s00_01/s00_01.usd

# feel free to introspect the resulting files in between each of the following.
python tutorial_scripts/layout_shot_s00_01.py
python tutorial_scripts/anim_shot_s00_01.py
Render
Note
The Katana USD plugin was removed from the USD distribution in version 20.05 in favor of the Foundry-supported plugin hosted on GitHub. This portion of the tutorial is not regularly tested but remains for historical reference.
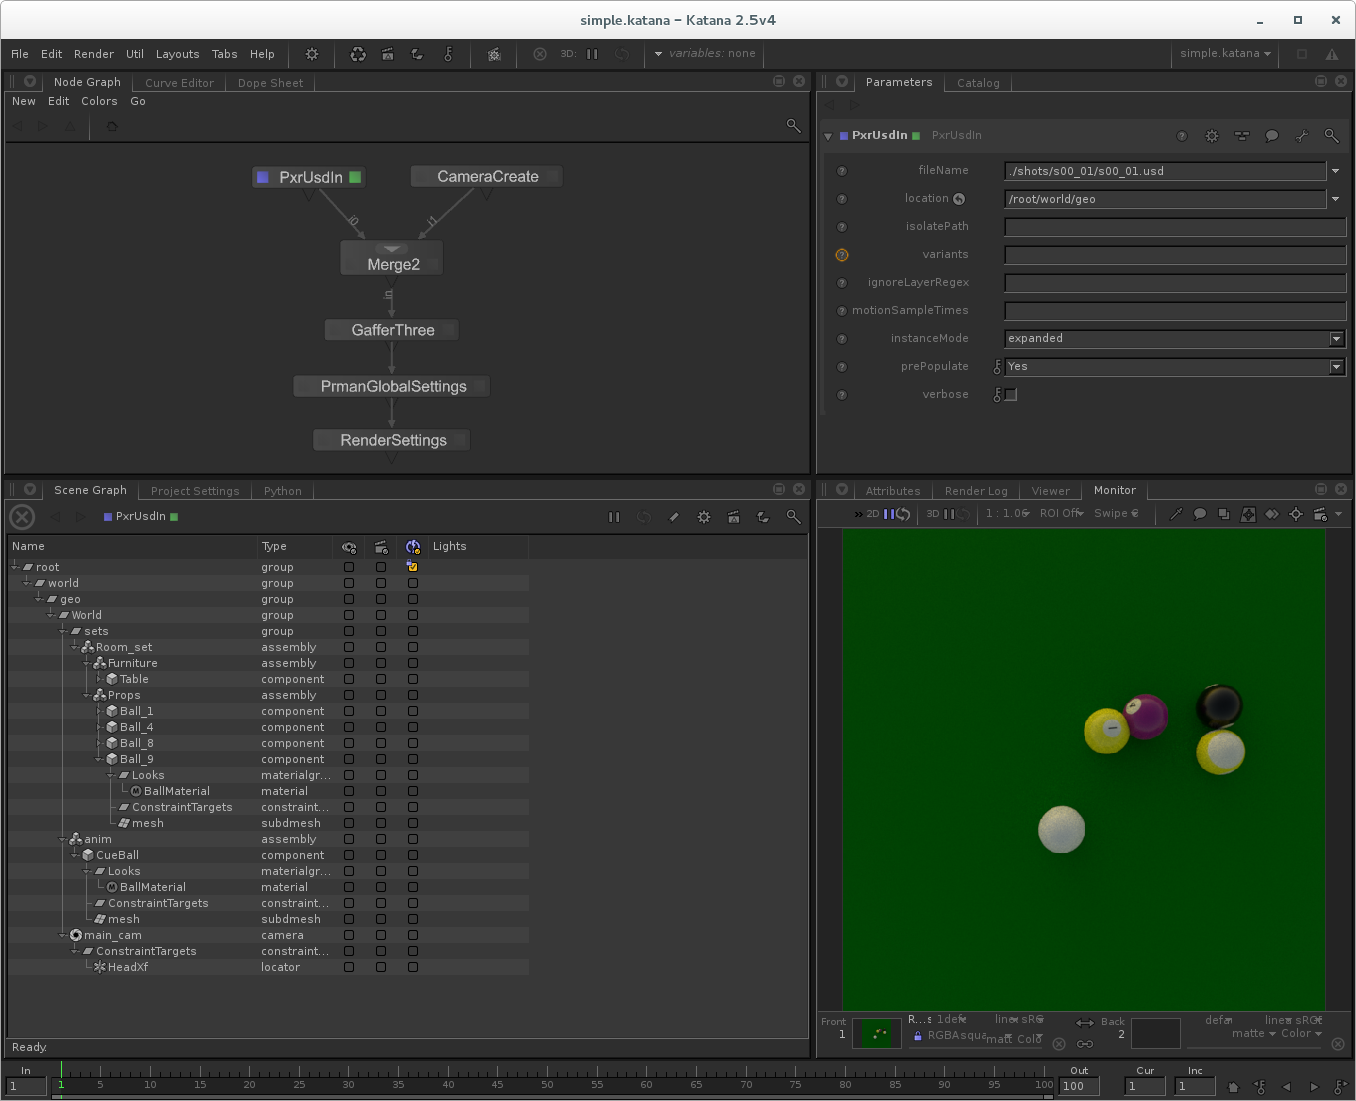
We’ll now render our shot in Katana. In the root of your endToEnd tutorial directory, run:
katana assets/simple.katana
The USD file is read in with the provided PxrusdIn node. An optional camera is merged into the scene (to work around a known issue when rendering from the camera in the USD file). A simple light is created in the gaffer node.
To render the scene, right-click on the RenderSettings node and select “Preview Render”.
That’s it!
Feel free to experiment with this tutorial by modifying scripts or adding your own geometry and shading.